Islands
Heavyweight Fishing island guide: unlock order, the weather each island rolls, its Rod Seller tier, secret fish and the boss and event locations worth sailing for.
Introduction
The map in Heavyweight Fishing is ten islands, and it is the part of the game that decides how you plan a session. Each island is not just a different backdrop — it carries its own Rod Seller tier, its own fish pool and its own weather cycle. That last detail is the one players underestimate most. Weather in this game is an island property rather than a global clock, so Thunderstorm belongs to Bamboo Isle and Rainy belongs to Fallout Isle, and waiting on the right island for the wrong climate will never produce the weather you want. Island identity extends to special content as well. Some islands hold signature events, Frost and Coconut Isle hand out named rods through their Rod Seller quests, three islands host the Spirit spawns that appear on an hourly timer, and Mistpeak Isle is where Mountain Fish appear. Islands also carry the game's two skill vendor locations, since Sage Yijiu's second spot sits on Battlefield Isle. Because all of that is bound to geography rather than to your level, the efficient way to play is to pick an island for what you need from it right now — income, a quest rod, an event or a specific fish — rather than sailing in a fixed order out of habit.
Island Weather & Signature Content
| Island | Weather | Signature Content |
|---|---|---|
| Beginning Isle | Standard | Entry rods, Sage Yijiu, ticket quests, trait NPC |
| Bamboo Isle | Thunderstorm | Can spawn Thunderstorm weather |
| Fallout Isle | Rainy | Can spawn Rainy weather |
| Perch Isle | Island-specific | Has its own island event |
| Frost Isle | Snowy | Rod Seller quest awards the Cryo Gravity Rod |
| Coconut Isle | Island-specific | Rod Seller quest awards the Soul Thorn Rod |
| Amber Isle | Island-specific | One of three islands where Spirits spawn |
| Battlefield Isle | Island-specific | Second Sage Yijiu location with a skill quest line |
| Mistpeak Isle | Mountain | Mountain Fish spawn here; a 5% drop is available |
Island Profile Details
Beginning Isle
The starting island
Bamboo Isle
Thunderstorm island
Fallout Isle
Rainy island
Frost Isle
Quest rod island
Coconut Isle
Second quest rod island
Amber Isle
Spirit spawn island
Battlefield Isle
Second skill hub
Mistpeak Isle
Mountain Fish island
Sovereign's Isle
Higher-tier island
Core Mechanics
Islands work as content containers rather than difficulty tiers in the usual sense. Each one owns three things: a Rod Seller tier, a fish pool and a weather cycle. The Rod Seller tier determines what you can buy while standing there, which means island travel is directly tied to your upgrade path — a rod you cannot reach on your current island is a reason to sail, and a rod you cannot afford anywhere is a reason to stay put and earn. The fish pool sets your income ceiling and your quest options, since several quests ask for a specific catch or fish weight that only appears in certain waters. The weather cycle is the part that changes how you plan, because weather is bound to the island rather than shared globally: Thunderstorm on Bamboo Isle and Rainy on Fallout Isle mean you travel to the climate you need instead of waiting on a timer. Layered on top are the island-specific contents — Frost and Coconut Isle Rod Seller quests, the Spirit spawns shared across Bamboo, Frost and Amber Isle, Mistpeak Isle's Mountain Fish, and the second Sage Yijiu location on Battlefield Isle.
Advantages
Island-bound content makes travel meaningful rather than cosmetic. Because each island carries its own Rod Seller tier and fish pool, deciding where to fish is a genuine economic choice, and the answer changes as your income grows. The weather system reinforces this by making climate a destination property: if you need Thunderstorm you know exactly which island to sail to rather than idling and hoping. Island-specific quests are the strongest player benefit here, since the Frost Isle and Coconut Isle Rod Seller quests hand over named rods that would otherwise cost millions in cash, which gives free-to-play players a route that money alone cannot buy. The Spirit spawns on three islands add a recurring timed event that encourages players to check in rather than grind continuously, and the second Sage Yijiu location on Battlefield Isle means exploration directly widens what you can buy rather than only changing scenery.
Challenges
The same design creates friction when nothing tells you where to go. With ten islands, six weather types and no in-game index, a player who does not look up which island owns which climate can spend a long session waiting on the wrong island for weather that will never arrive there. Timed content adds pressure on top: Spirit spawns run on an hourly window and disappear quickly, and each interaction carries a substantial cash cost with a low success rate, so a failed attempt is a real loss rather than a neutral one. Some islands also carry data that is hard to trust — the published price for the Soul Thorn Rod looks like a source error, which is exactly the kind of detail that can send a player farming toward a number that does not exist. Finally, island travel requires a boat from the Spawn Boat NPC, so early players who sail before their rod and income support it can strand themselves on an island whose Rod Seller they cannot afford.
Frequently Asked Questions
How do I unlock new islands in Heavyweight Fishing?+
How does the weather system work?+
Which island is best for making money?+
Where are the secret boss locations?+
Quick Tips
Pick the island by what you need, not by habit. Each island owns a Rod Seller tier, a fish pool and a weather cycle, so the productive question before sailing is which of those three you are actually going there for, and a trip with no answer usually costs more in time than it returns.
Learn which island owns which weather before you wait for it. Weather is bound to islands rather than shared globally, so Thunderstorm belongs to Bamboo Isle and Rainy to Fallout Isle, and idling on a different island hoping for a climate it cannot roll will never produce the result. Knowing which island owns which climate turns waiting into travelling, which is almost always faster than standing still.
Run the Frost and Coconut Isle Rod Seller quests before buying those rods. Their quests award the Cryo Gravity Rod and the Soul Thorn Rod directly, and the Cryo Gravity Rod alone would otherwise cost eight million in cash, so finishing a quest you have open is worth more than a farming session.
Budget the cash before travelling to a Spirit event. Spirit interactions carry a substantial cost per attempt with a low success chance, and a failure still spends the money, so arriving without a buffer turns a timed event into an expensive gamble rather than a shot at a reward. A failed attempt spends the money without returning anything, so the buffer is what lets you retry rather than end the session on one roll.
Do not sail for a Rod Seller you cannot afford yet. Island tiers rise faster than early income does, and a player who travels early ends up grinding on a higher island with a weaker rod than they would have needed to stay, which is strictly worse than earning where the current rod is strong.
Featured
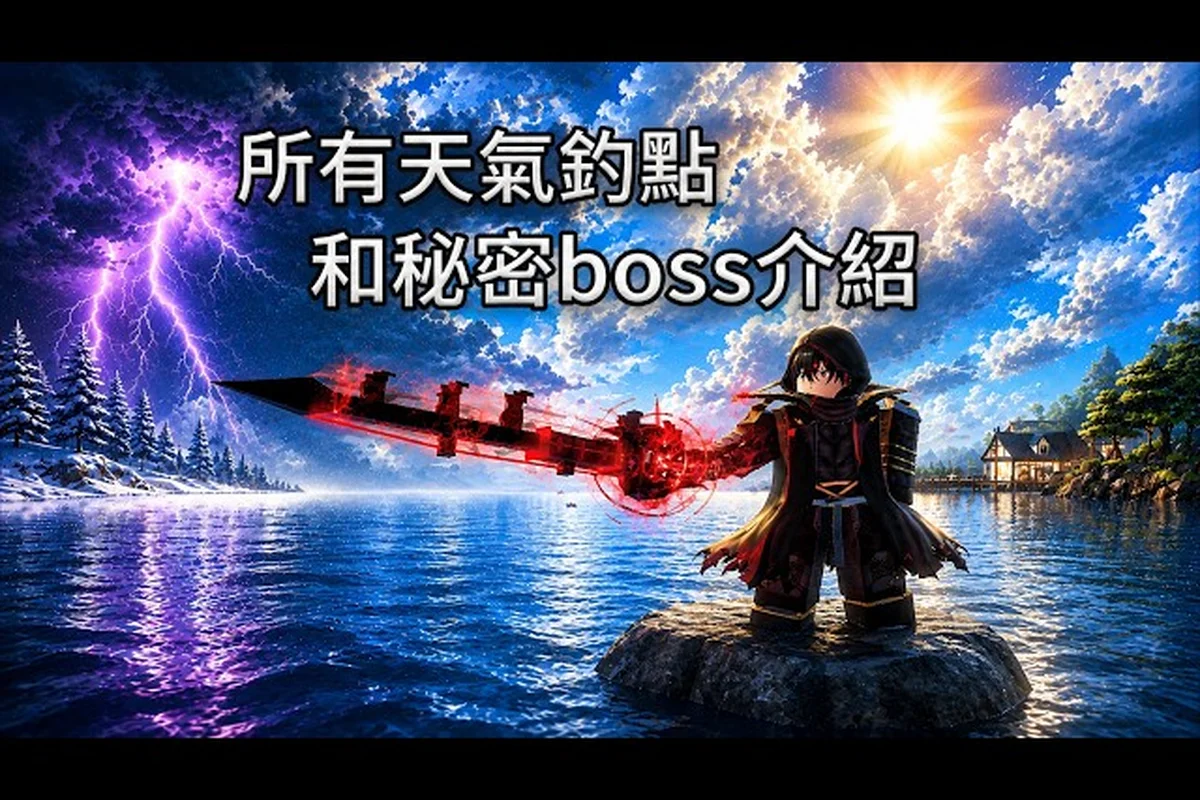
Heavyweight Fishing Windy Weather: Snowy, Foggy & Secret Fish
Master Heavyweight Fishing windy, snowy, foggy, and blazing sun weather to unlock the rarest secret fish, weather-locked drops, and the best catches per island.
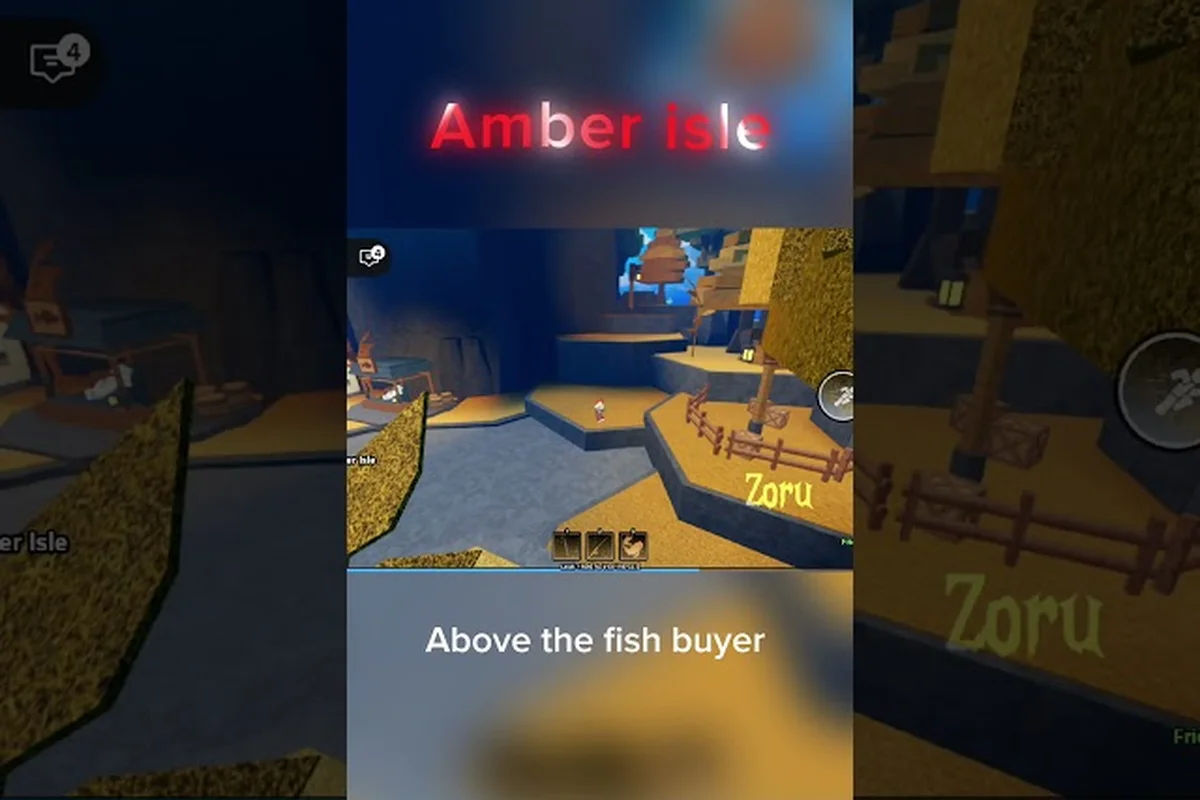
Heavyweight Fishing All Secret Fish: Weather & Catch Locations
Track every Heavyweight Fishing all secret fish from Crimson Electric Eel to Draconic Koi with exact weather-locked locations and legendary catch rewards.

Heavyweight Fishing Island Quests: Travel, Boats & Weather
Master every Heavyweight Fishing island quest by learning boat travel routes, weather-locked conditions like Thunderstorm and Rainy, and NPC rewards.
All Articles
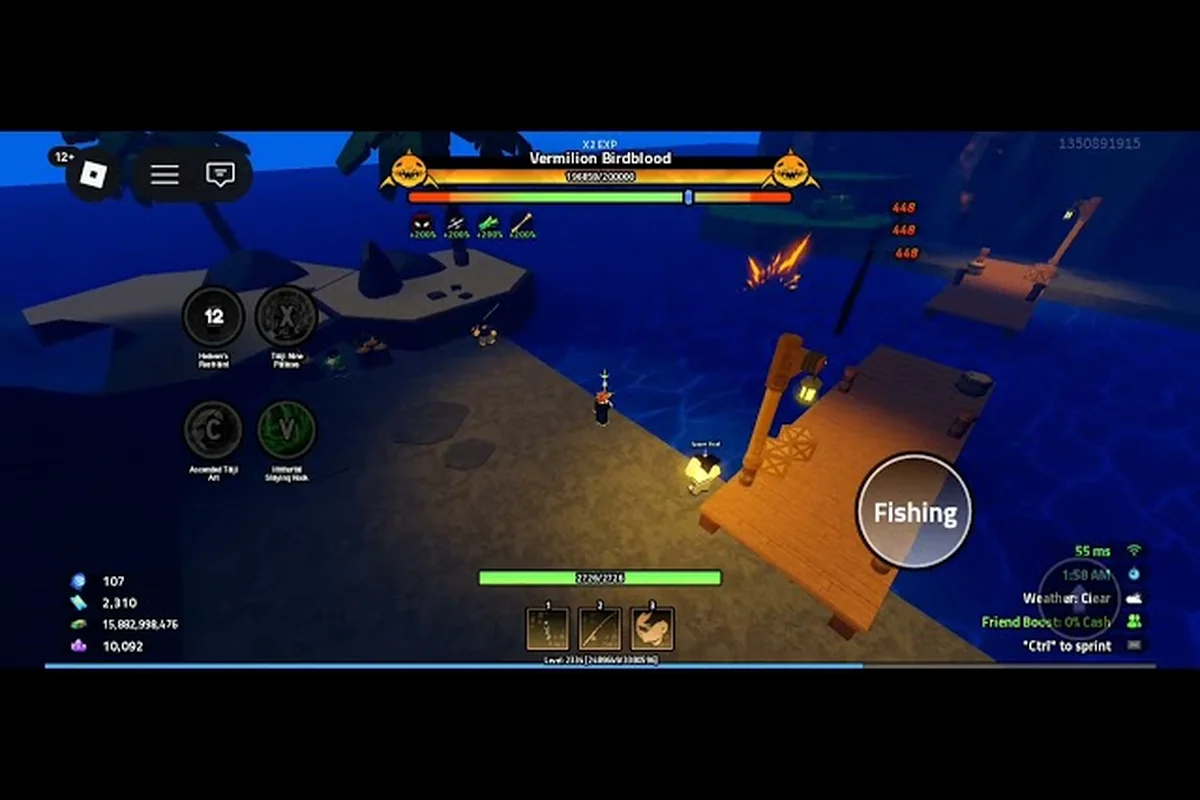
Heavyweight Fishing Sovereign's Isle: Bosses, Fish & Weather
Explore Heavyweight Fishing Sovereign's Isle and its Frost, Coconut, Amber, and Battlefield neighbors, with weather-locked fish, hidden bosses, and travel tips.
Heavyweight Fishing All Islands: Map, Weather & Unlock Order
Map every Heavyweight Fishing all islands spot from Beginning Isle to Mistpeak, see which weather each one locks, and learn the unlock order for new fishing grounds.

Heavyweight Fishing Enzo Boss: Nightmare Mode & Island Tiers
Face the Heavyweight Fishing Enzo boss in Nightmare Mode, learn Mountain Fish spawn conditions, and see which islands drop the toughest catches.
Heavyweight Fishing Island Progression: XP, Money & Boss Spots
Plan your Heavyweight Fishing island progression with the best XP and money spots, boss fishing locations, and secret catches that speed up every tier.